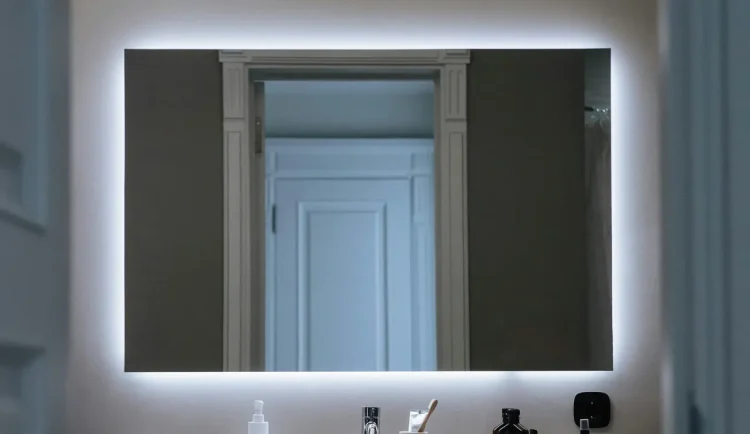
Imagine having a mirror that can do more than just show your reflection. A smart mirror can display useful information such as the time, weather, news, and even reminders. It combines technology with your everyday routine, adding convenience and a touch of futuristic flair to your home.
Materials You Will Need
Here is a simple list of materials you will need to create your own smart mirror:
- A two-way mirror
- An old computer monitor or tablet
- Raspberry Pi (a small, affordable computer)
- Wood or a frame to hold the mirror
- Wi-Fi dongle (if your Raspberry Pi doesn’t have built-in Wi-Fi)
- Power supply for your Raspberry Pi
- Keyboard and mouse for setup
- HDMI cable
- Glass cleaner
- Screws and screwdriver
Setting Up the Raspberry Pi
The first step in creating your smart mirror is setting up the Raspberry Pi. If you’ve never done this before, don’t worry; it’s quite simple. Follow these steps:
1. Download the operating system: Go to the Raspberry Pi website and download the Raspbian operating system. Follow the instructions to install it on a microSD card.
2. Connect everything: Insert the microSD card into the Raspberry Pi. Connect the Raspberry Pi to the monitor or tablet using the HDMI cable. Plug in the keyboard, mouse, and Wi-Fi dongle if needed. Finally, connect the power supply to the Raspberry Pi.
3. Boot up and configure: Power on the Raspberry Pi. It will boot into the Raspbian operating system. Follow the on-screen instructions to configure your country, language, and Wi-Fi connection.
Installing the Smart Mirror Software
Now that your Raspberry Pi is set up, you need to install the smart mirror software. MagicMirror² is a popular and free open-source option. Here’s how to install it:
1. Open the terminal: You can open the terminal from the Raspberry Pi’s desktop. It looks like a black rectangle icon.
2. Update the system: Type sudo apt-get update and sudo apt-get upgrade to ensure your system is up to date.
3. Install Node.js: Type curl -sL https://deb.nodesource.com/setup_14.x | sudo -E bash - followed by sudo apt install -y nodejs to install the required version of Node.js.
4. Install MagicMirror²: Type git clone https://github.com/MichMich/MagicMirror to download the software. Navigate to the MagicMirror directory by typing cd MagicMirror, then install it with npm install.
5. Start the software: Type npm start to run the MagicMirror software. You will now see the smart mirror interface on your screen.
Building the Frame
While the software is running, you can start building a frame for your smart mirror:
1. Prepare the frame: If you’re using wood, measure and cut it to fit around your monitor or tablet and two-way mirror. Secure the frame with screws.
2. Place the two-way mirror: Clean the mirror with glass cleaner, then place it inside the frame so the reflective side faces outward. The other side should be facing the monitor or tablet.
3. Assemble the parts: Place the monitor or tablet behind the two-way mirror inside the frame. Ensure it sits snugly and securely.
Finishing Touches
With everything assembled, here are the final steps:
1. Mount the frame: Choose a location for your smart mirror. You can hang it on a wall like a picture frame or stand it on a table.
2. Power on: Connect the power supply to your Raspberry Pi and monitor or tablet. The smart mirror will start displaying information as soon as it receives power.
3. Configure display options: You can customize what is displayed on your mirror by editing the config.js file in the MagicMirror directory. Add or remove modules as you see fit.
Congratulations! You have successfully created your own smart mirror. Now you can enjoy checking the time, weather, and news while getting ready for your day. It’s a fun and useful project that adds a modern touch to your home.


